iPhone Screen Repairs: Trusted Solutions for Cracked and Damaged Screens
iPhone Screen Repairs: Trusted Solutions for Cracked and Damaged Screens
Blog Article
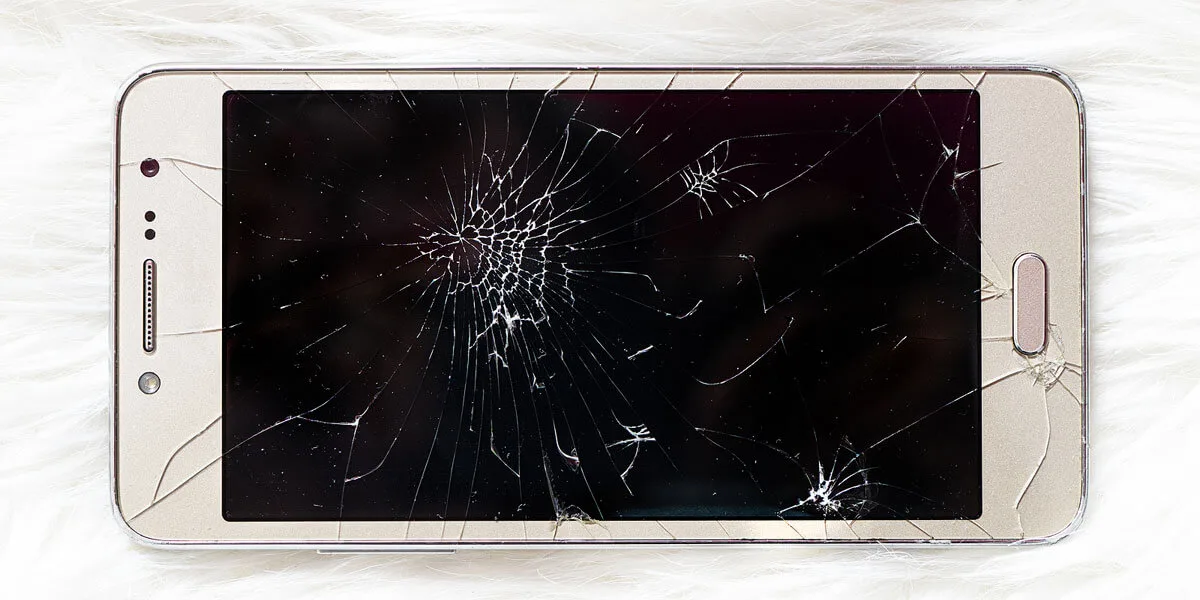
A Comprehensive Guide to DIY Iphone Display Repair Service for Beginners
In an age where modern technology is crucial, the ability to conduct minor repair services on personal devices, such as replacing an apple iphone display, can be both equipping and cost-efficient. Our overview is tailored for those who may be new to the world of do it yourself repairs, providing an organized strategy that debunks the procedure - iphone screen replacement. From selecting the proper devices to comprehending the intricacies of the repair work actions, this overview makes sure that you are well-prepared to take on the job. However, one need to be conscious of the potential mistakes that can occur throughout such undertakings, as these can influence the end result substantially.
Vital Tools and Materials
Getting started on an iPhone screen repair requires a well-curated option of tools and materials to make certain success. The intricacy of modern-day smartphones needs precision and care, making the selection of devices vital. Crucial tools include a top notch accuracy screwdriver set with different heads, such as Pentalobe and Phillips, to accommodate the different screws within the tool. A suction mug and plastic spudgers are important for securely lifting the display without creating damages to the delicate interior elements.
Tweezers can aid in managing little connectors and elements, while an opening pick will certainly help with the cautious splitting up of the display from the phone's structure (iphone screen replacement). A magnetic mat or tray is likewise beneficial for organizing screws and small parts, reducing the threat of shedding them during fixing
In terms of materials, a replacement screen of good quality is critical, ensuring compatibility with the specific apple iphone model. Adhesive strips are essential for reassembling the tool, giving a safe and secure fit for the new display.
Preparing Your Work Area
Producing an arranged and efficient work space is an essential action in making sure an effective iPhone display repair work. Proper preparation can dramatically boost focus and reduce the risk of mistakes throughout the procedure. Begin by choosing a clean, well-lit location to work in. Appropriate lighting is necessary to clearly see the intricate parts of the iPhone and can protect against unexpected messing up. A roomy table or desk is suggested to expand tools and components without clutter, enabling easy accessibility as required.
Before commencing the fixing, guarantee that all needed devices, such as screwdrivers, suction cups, and tweezers, are accessible. It's recommended to use a non-static mat or a microfiber towel to lay the phone on, which assists prevent fixed damage and scrapes. In addition, arranging small components in classified containers or a magnetic mat can maintain them avoid and secure loss.

Step-by-Step Repair Process
Carrying out the detailed fixing process for an iPhone display requires precision and care at every phase. Begin by powering off the tool to avoid any electric incidents. Use a pentalobe screwdriver to eliminate the 2 screws surrounding to the billing port. With these screws eliminated, use pop over to this site a suction mug near the lower edge to delicately raise the display. Simultaneously, place a plastic opening device to carefully separate the display from the body, taking care not to harm any type of connectors.
Next, remove the screws safeguarding the steel bracket that shields the display cables. When the brace is raised, disconnect the booster cable to remove any threat of a brief circuit. Following this, detach the display screen cords attaching the display to the motherboard. This action is critical, as messing up these cables can create irreversible damages.
Proceed by getting rid of any kind of added elements from the old screen, such as the front electronic camera and home button, and move them to the new display. Reconnect the display screen cables and reattach the metal brace as soon as these are in area. Thoroughly press the brand-new screen right into the framework, making certain all sides are straightened. Finally, secure the screws and power on the device to evaluate capability.
Typical Blunders to Prevent
Fixing an apple iphone display can be a fulfilling job, but numerous common errors can lead to complications if not addressed. One common mistake is disregarding to power off the gadget entirely before beginning fixings.
An additional frequent blunder is applying excessive pressure when eliminating or setting up elements. apple iphone internals are delicate, and too much pressure can damage adapters or motherboard. Together with this, using inappropriate devices, such as a typical screwdriver rather than an accuracy screwdriver, can strip screws or damage delicate components.
Additionally, avoiding the necessary step of disconnecting the battery prior to waging repairs can raise the danger of short-circuiting. Finally, failing to guarantee a dust-free setting during reassembly may lead to dust fragments getting caught in between the screen and the display, reducing screen clearness.
Checking and Final Touches
Commonly, the final actions of an apple iphone display fixing are as important as the preliminary ones, needing precise attention to information. Begin by powering on the apple iphone to confirm that the screen lights up correctly and displays the home screen without distortion or dead pixels.
Following, check the distance sensor and ambient light sensing unit by phoning and covering the leading portion of the display to great post to read see if it lowers appropriately. This can verify that both sensing units were reconnected properly. In addition, assess the front-facing electronic camera and audio speaker to guarantee they were not unintentionally obstructed or harmed throughout reassembly.
Final Thought
In an age Related Site where technology is essential, the capacity to perform small repairs on personal devices, such as changing an iPhone display, can be both equipping and cost-efficient.Embarking on an apple iphone display fixing requires a well-curated option of devices and materials to make certain success.Creating an organized and efficient workspace is a crucial step in guaranteeing an effective apple iphone display fixing.Continue by removing any kind of extra components from the old screen, such as the front camera and home switch, and move them to the brand-new screen. Begin by powering on the apple iphone to confirm that the display lights up properly and displays the home display without distortion or dead pixels.
Report this page